A Linux virtual machine may be a virtual machine (VM) that’s running a distribution of Linux because the guest OS. Similarly, a Linux virtual machine can exist on a number server that’s running a non-Linux OS , like Windows. During this article explained how to run Android on Linux using a virtual machine with Play Store support. And, it works better than emulators thanks to better binary translation and desktop-like features.
Table of Contents
Run Android on Linux OS Using a VirtualBox
Android (x86) is a project which aims to port the Android system to Intel x86 processors to let users install it easily on any PC, the way they’re doing this is often by taking an android ASCII text file, patching it to work on Intel x86 processors and a couple of laptops and tablets.
How to create Virtual Hard Disk
Step 1
Download the ISO image of Android 9 from here. Depending on your PC architecture, choose either a 64-bit or 32-bit ISO image. By the way, currently, Android 9 is the latest OS ported for desktop computers.

Step 2
Once we have downloaded the Android ISO image, next we goto download VirtualBox. We can find the setup file for all Linux distributions from here. Then the download is finished, install VirtualBox on our systems.

Step 3
Here, we are running VirtualBox on Ubuntu. Then, click on “New” on the menubar and give a name to your virtual machine. For example, we have entered “Android”. Further, select the Type as “Linux” and choose “Other Linux (64-bit)” under Version. If you have a 32-bit machine then select “Other Linux (32-bit)”. Finally, click on “Next”.

Step 4
On the next window, assign at least 2GB of RAM. If you have extra RAM accessible, increase into 4GB and improved performance while using Android.

Step 5
Next, we select “Create a virtual hard disk now” and click on “Create”.

Step 6
Then, we select “VDI” and click on “Next”.

Step 7
Further we select “Dynamically allocated” and click on “Next”.

Step 8
Now here, we enter the amount of storage that we want to allocate to Android. The default is 8GB, but we can increase the storage to 16GB or more depending on our usage. Finally, click on “Create”.

How to Configure the Android VirtualBox on Linux
Step 1
First we open the VirtualBox, next click on “System“.

Step 2
Move to the “Processor” tab and assign at least 2 CPU cores. We can also increase into 4 for better gaming performance.

Step 3
Then, we switch to the “Acceleration” tab and choose “KVM” from the drop-down menu.

Step 4
Once we have finished, next move to the “Display” section and change the “Graphics controller” to “VBoxSVGA“. Because this is the most important step or else you will be stuck on a blank screen. And also we, increase the Video Memory to at least 64-128MB.

Step 5
At the end, we go to “Storage” and select the “Empty” sub-menu. Here, click on the disc icon and select “Choose a disk file”.

Step 6
Here, we select the Android ISO image that we downloaded in the first step. We are basically done. Simply, click on the “OK” button.

How to Boot Android within Linux
Step 1
First , select “Android” on the left pane and then click on “Start“.

Step 2
Now, its move to the “Advanced options“.

Step 3
Then, we select “Auto_Installation…” and hit enter.

Step 4
On the next screen, select “Yes” and hit enter.

Step 5
Finally, we will get the option to “Run Android-x86” on your Linux machine. Press enter and Android will start with booting on your Linux machine.

Step 6
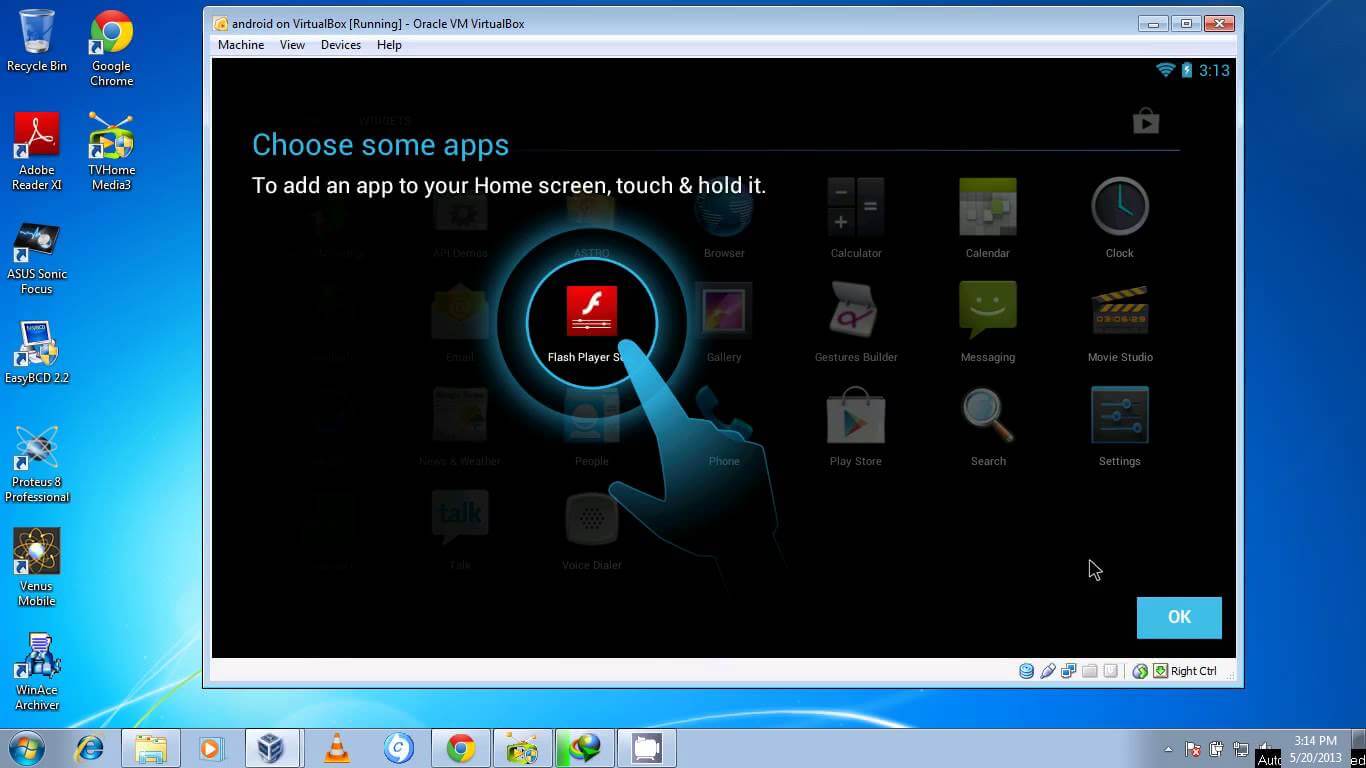
Next, we can go through the initial setup screen just like Android smartphones.

Step 7
At the end, there we have it. Android 9 running on Linux with better performance. Next we press the “Start” button in VirtualBox and Android will be ready.

Step 8
May be, we want to delete Android from Linux then simply right-click on the Android VM that we have created and choose “Remove”.

Step 9
Then, click on “Delete all files”. It will remove the virtual hard drive and all related files freeing up all the space on your computer.