Windows 10 is here, and while the new operating system should be pretty familiar to Windows 7 and 8 users, a few menu options are shuffled around. It’s like letting a friend crash at your place while you’re away; afterward, you will find a thousand little things that are not exactly where you left them. in the new OS , for example, the method for projecting your display screen to a TV has changed. The new process is similar to the way it worked in Windows 8, but not identical. Here’s how it works.
What you will need
Most computers that come with Windows 8 or Windows 10 and Intel processors have WiDi support, but computers that upgrade from Windows 7 might not . If you are not sure whether your computer supports WiDi, the best thanks to find out is to only go ahead and try mirroring your screen with the process described below and see if it works.
If your computer doesn’t support WiDi, you still have options, just like the Actiontec ScreenBeam USB Transmitter. This dongle, and similar USB transmitters from other manufacturers, let machines without WiDi broadcast as if they did have the technology. For more general information, check out our primer on Miracast.
You’ll need a Miracast/WiDi receiver for your television receiver . We recommend the Microsoft Wireless display adaptor, but most Miracast receivers should work fine. (We did, however, notice that the feature did not work with the Roku boxes we tried. Miracast on Roku is still a beta feature, and has been unreliable in our tests.)
When you’re ready to begin, here’s how to mirror your screen with Windows 10.
1. Set up your Miracast receiver.
Plug your Miracast receiver into your TV and an influence source, then select the appropriate HDMI input on your TV. That’s usually all you need to do, but as every Miracast device works a little differently, follow the manufacturer’s instructions to get your receiver up and running. Our how-to can provide some general tips.
2. Open the start menu on your Windows 10 machine.

From here, you’ll just look for Connected Device Settings within the Start menu’s search field to skip a few steps. If not, read on.
3. Click on Settings.

4. Select Device

5. Choose Connected Devices.

6. Click Add a device.
7. Select your WiDi receiver.

For our tests, we used an Iogear GWAVR; other receivers will have different names.
That’s it. Your computer should now be mirrored on your TV. If it is not, try to repeat the process. If nothing works, that’s simply a peril of using Miracast/WiDi technology. There are so many moving parts from so many different manufacturers that some combinations just plain don’t work, and there is not much you can do apart from trying a different receiver.
Windows 8 users may find that the process differs somewhat from the old method (in which they selected Settings, Project and Add Wireless Display), but it’s a similar process overall.
If you need to disconnect your device, you can do so easily.
8. Click on your receiver under Projectors.

9. Select Remove Device.

10. Click Yes.

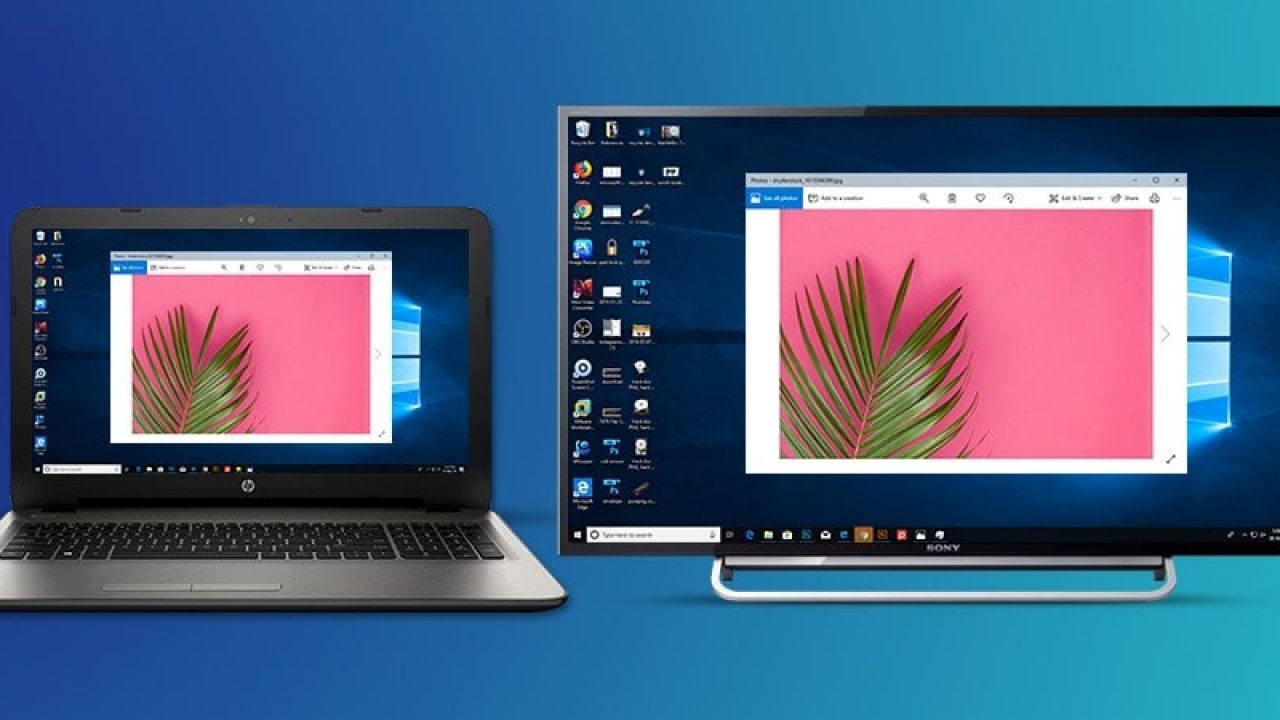
There you have it. you will want to mirror your screen to share documents, watch streaming TV, or simply because you happen to have a Windows 10 PC and a Miracast receiver lying around and 5 minutes on your hands. Whatever your reason, the process is exceedingly simple and straightforward.