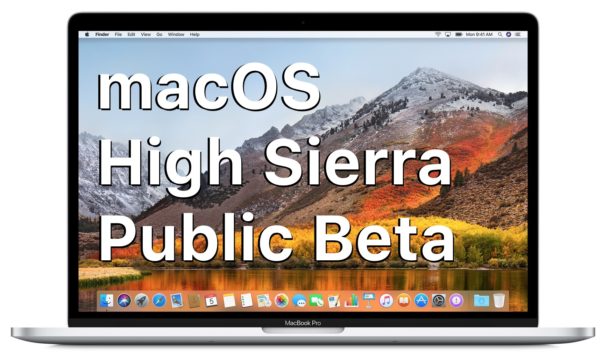
macOS High Sierra was first unveiled at WWDC 2017 this year, and after the developer preview, the first public beta has now been made available. macOS High Sierra brings a lot of new features like the new APFS system, Safari improvements, and much more.
The public beta is a great way to enjoy the new features that Apple will introduced with the next version of macOS. Read on to learn how to install macOS High Sierra public beta on your Mac.
A word of caution
This is a beta update so it might be buggy and all applications may not work as smoothly as expected. Ensure you backup your Mac before getting started, and preferably install macOS High Sierra public beta on a secondary Mac if possible. You could also alternatively wait for the final version to hit all Macs this fall, of public betas are not something you want to risk.
How to install macOS High Sierra public beta
Mac users who are interested in using the public beta version, need to enrol in the Apple Beta Software Program first. Users can sign up here. Answers to most questions regarding the Apple Beta Software Program can be found on the FAQ page. After you finish signing up, you will need enrol you Mac into the Apple Beta Software Program. You can find the Enroll your device option in the Get Started section in Mac tab of the Guide for Public Betas screen. Then follow the steps below to download and install macOS High Sierra.
- Download the macOS High Sierra public beta access utility from the same Get Started section. After finishing the download, open the file from your Downloads folder and run the installer. After the process of the installer is complete, the Mac App Store will open up automatically showing the Updates screen. Click on Update.
- If, for some reason, you can’t see the public beta update, restart your Mac, and go back to the Update section in the Mac App Store, and download the update. After the update has downloaded, your Mac will automatically restart.
- After restart, the macOS High Sierra installer should open automatically. If it doesn’t, manually launch it from your Applications folder using Finder. Click on Continue in the installer, but ensure that you have backed up your device before doing this step. The installer will also remind you to back up your Mac, just in case.
- Click on Agree to accept the terms and conditions and again to confirm, and select the drive where you want to install the beta. After that, click on Install, enter your administrator password for further authentication, before pressing OK. Your Mac would want to restart again, and you can click on Restart or let it restart on its own. once again.
As mentioned, the macOS High Sierra software update brings a host of new tweaks and upgrades including an improved Safari, machine learning, as well as Apple’s new file system, to name a few. macOS High Sierra’s Safari also brings automatic Autoplay blocking, which will detect when videos are trying to autoplay and auto silence them. Apple is also bringing a much-needed ad tracking blocker through the use of machine learning. Mail will get a full-screen split-view so that your inbox can be seen on one side, and the message you’re composing on the other. Photos is also getting an overhaul as well with features like better facial recognition and improved sorting. The Photo Book printing service built into Photos is being opened up to third parties, and Live Photos get the ability to create loop videos for social sharing.
APFS – the file storage system that is used on most of Apple’s other products is now going to be the default on macOS with High Sierra. It also introduces HEVC that lets you create highest resolution of video while reducing required space by as much as 40 percent (playback of 4K HEVC content requires a Mac with a sixth generation Intel Core processor or newer). Also, Metal 2 brings machine learning, and virtual reality content creation on the Mac.


